This tutorial will teach you how to render a halo 2 model in any position you want. These are the steps that you need to take:
1. Extract the files
2. Open the model(s) in 3ds max and put textures on them
3. Rig the models
4. Render
This tutorial will have 2 parts because I don't have enough time to write the whole thing at once. The first part is extracting the models and texturing them in 3ds max.
Before we start, here are the programs you need to do this tutorial:
-3DS MAX (I'm using 2009 right now)
-ADI (http://www.halomods.com/forums/viewtopic.php?t=19301)
-ADI model library (http://www.halomods.com/forums/viewtopic.php?t=14577)
-Entity UE (google 'entity ue 1.6' and you'll eventually find a working download for it)
-Photoshop
-Shared.map, single_player_shared.map, mainmenu.map (you'll have these files if you have H2V installed)
Extracting the files
In this tutorial, I will be doing an elite, but you can do whatever you want.
1. Open up ADI (you can't do this without the model library, just to let you know), and open mainmenu.map
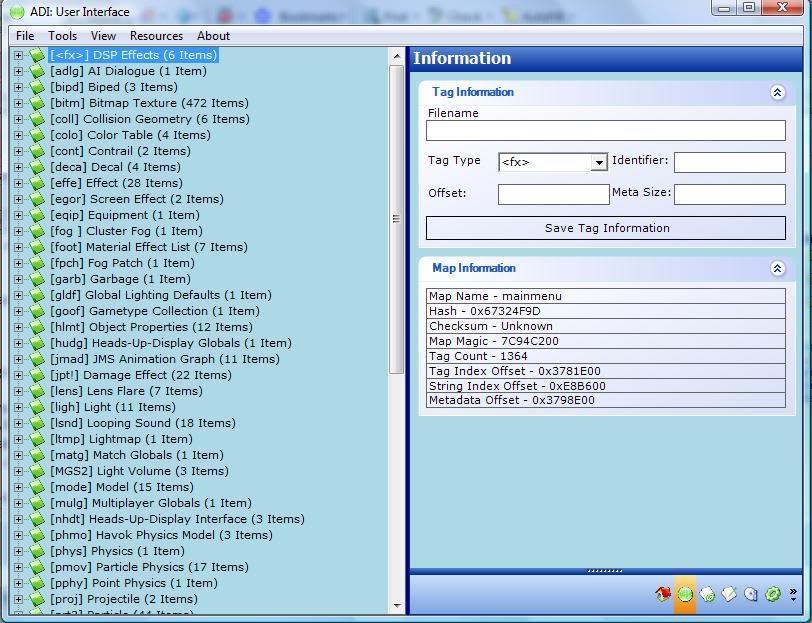
2. Click on model (mode) and then objects/characters/elite/elite. Then, click on the little house button on the bottom right of ADI. Check Wavefront OBJ, and click Export Model. Make sure you know where to find it after you extract it.
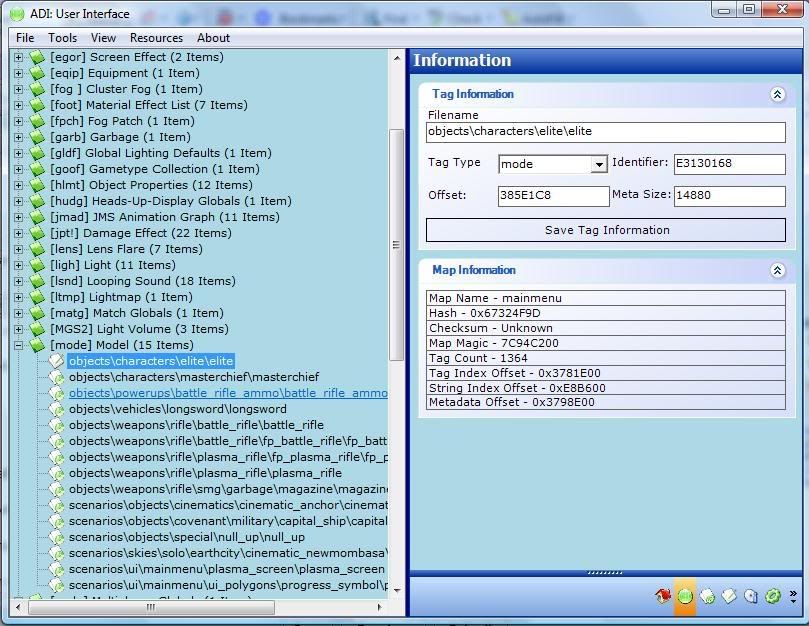
Now that you've extracted the models, its time to extract the bitmaps.
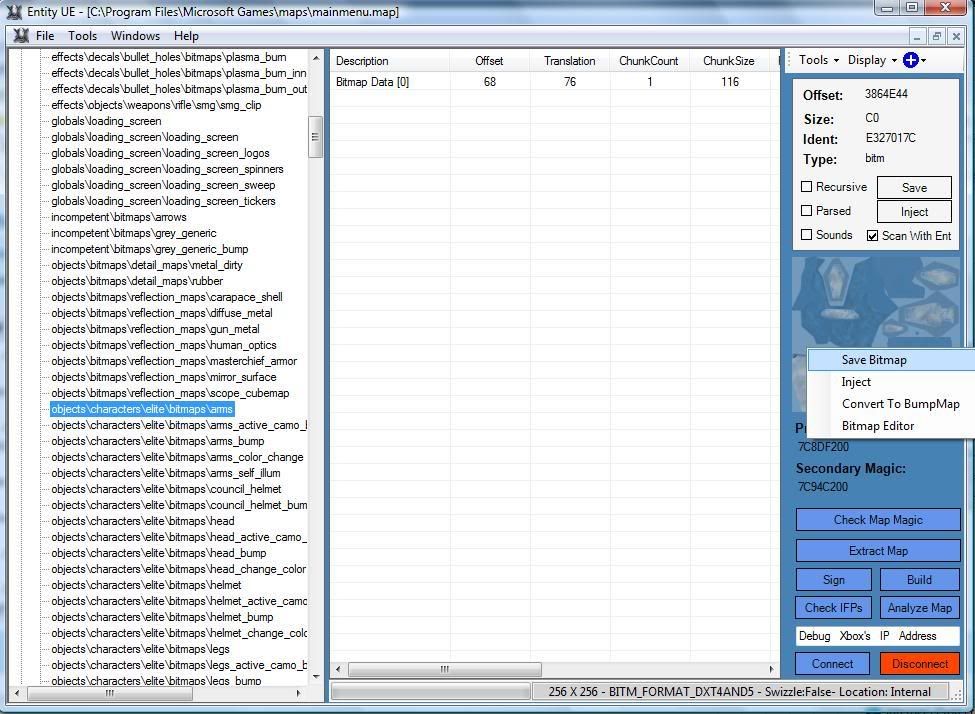
3. Open up Entity UE. You should see a long list of words. Double click on bitmaps (bitm).
4. Scroll down until you see objects/characters/elite/bitmaps/. Extract ALL (including the bump maps) of the bitmaps by right clicking on the picture to the far right of your screen. Save the files where you can find them later. MAKE SURE YOU SAVE THEM AS .BMP, NOT .DDS
Opening the models in 3DSM and putting textures on them
1. Open up 3DS MAX, and go to file-->import. Click on the dropdown list and choose .obj. Import all of the elite models that have .5 on them, and make sure you import the body parts as separate models. Do this for the helmet, body, and head.
Your end result:
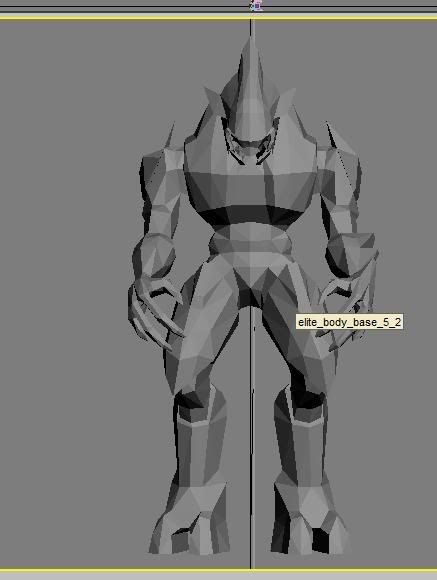
It looks really bad right? Here's how to make it look better
2. Select ALL of the body parts, click on the modify button at the right. There should be a dropdown list with the words "Modifier list" inside. Click on it, and scroll down to Smooth. You should see a lot of buttons with numbers in them.
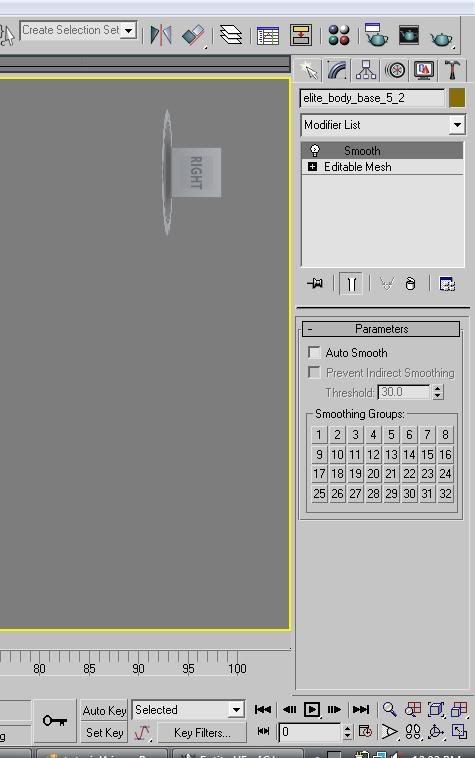
3. Click on any of the buttons, and your model should look MUCH smoother.
Now its time to put the textures on the model.
4. Press your "M" key. The material editor window should open up.
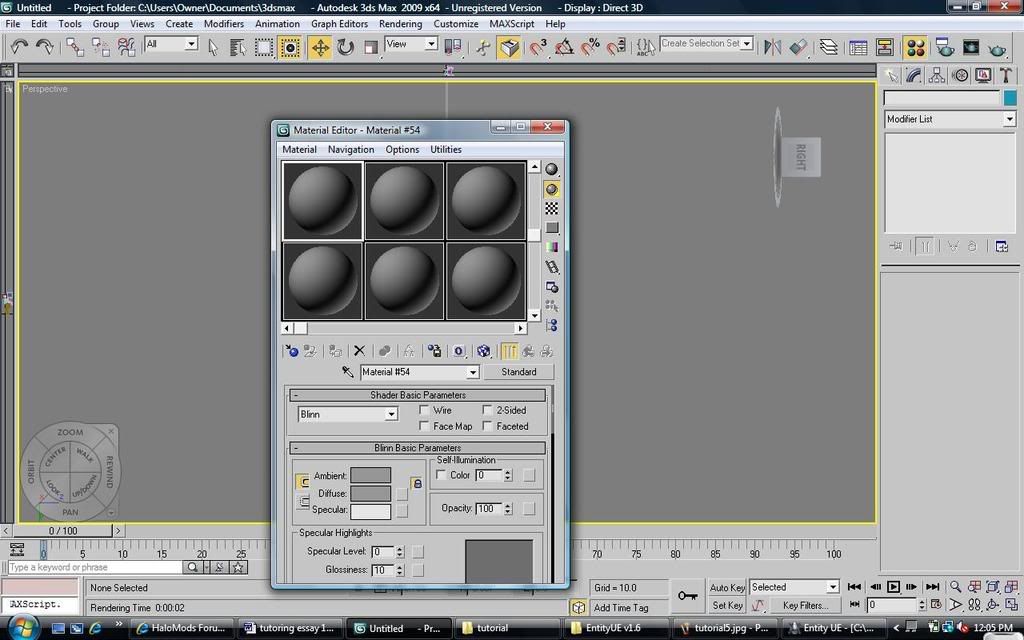
Click on the small square button next to Diffuse, and then select 'bitmap' at the top of the list that should appear. Find the texture of your elite's torso. Select your torso model in 3DSM. Then, click on 'Assign Material to Selection' and then 'Show Standard Map in Viewport' in the material editor. Your elite's torso should be textured. Do the same thing with the rest of the body parts. For example, put the head texture on the elite's head.
End result:
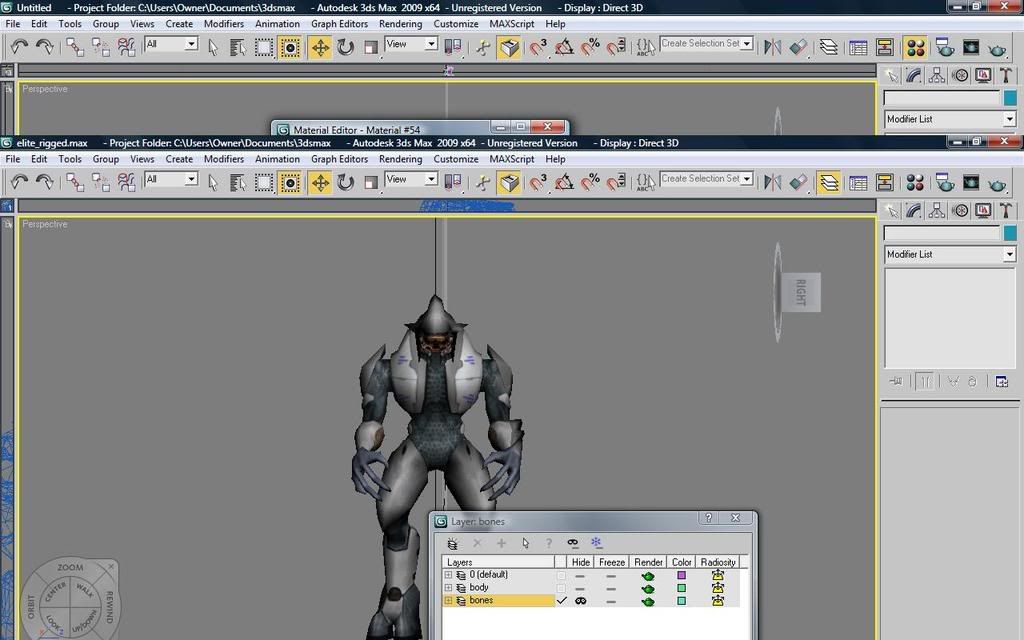
This is the end of part 1. I hope you found this tutorial useful. I will probably finish the second part by next week.


