[ CougAr's Idiot Proof Costum Bumpmapping Guide ]
Posted: Thu Mar 29, 2007 9:02 pm
[ CougAr's Idiot Proof Costum Bumpmapping Guide ]
- [ Programs Needed ]
Entity UE V1.6
[ Download ]
Adobe Photoshop CS2 (30 Day Trial) OR Gimp
[ Photoshop Download ] [ Gimp Download ]
NVIDIA Normal Map Filter OR Gimp Normalmap Filter
[ Photoshop Download ] [ Gimp Download ]
[ Extracting Bumpmaps ]
[Step 1.] Open Entity UE V1.6

[Fig 1.0]
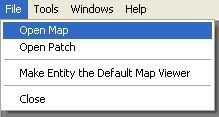
[Fig 1.0]

[Fig 1.0]


[Fig 1.0] Bumpmaps will end in either a '_bump' or '_bmp'
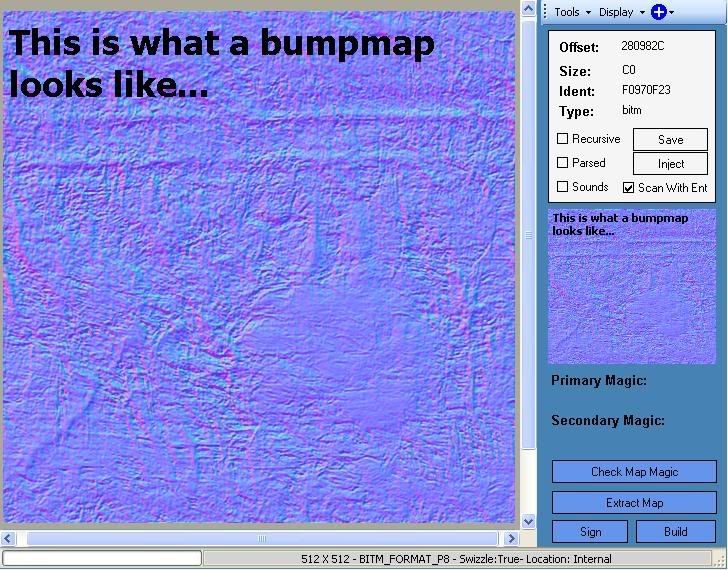
[Fig 1.0]
 button and select "save bitmap" from the drop-down menu.
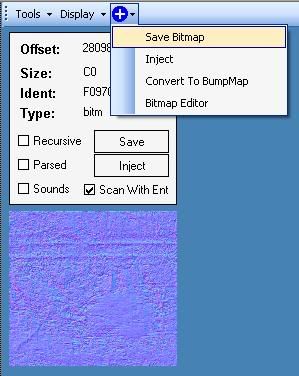
[Fig 1.1]
[Step 7.] Congratulations! You've just extracted a bumpmap...
[ Creating Bumpmaps ]
[Step 1.] Open Gimp or Photoshop.
[Step 2.] Press "File --> Open".
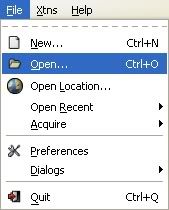
[Fig 1.0]
[Step 4.] In order for an image to become a bumpmap it must be a black and white image.
In photoshop go to "Image --> Adjustments --> Hue/Saturation".
In Gimp go to "Tools --> Color Tools --> Hue-Saturation".
[Step 5.] Slide the "saturation" slider all the way to the right to make the image into a black and white image.
[Step 6.] You may want to adjust the contrast of your image to make certain spots appear deeper and others higher.
In Photoshop go to "Image --> Adjustments --> Brightness/Contrast".
In Gimp go to "Tools --> Color Tools --> Brightness-Contrast".
[Step 7.] You may also want to blur your image slightly to make the "bumps" appear more smooth.
In Photoshop go to "Filter --> Blur --> Gaussian Blur".
In Gimp go to "Filter --> Blur --> Gaussian Blur".
[Step 8.] Flatten your image now to avoid some future problems.
In Photoshop go to "Image --> Flatten Image".
In Gimp go to "Image --> Flatten Image".
[Step 9.] Now its time to make our image into a bumpmap.
In Photoshop go to "Filter --> NVIDEA Tools --> Normalmap".
In Gimp go to "Filter --> Map --> Normalmap".
[Step 10.] Play around with the settings; you can get a range of different effects.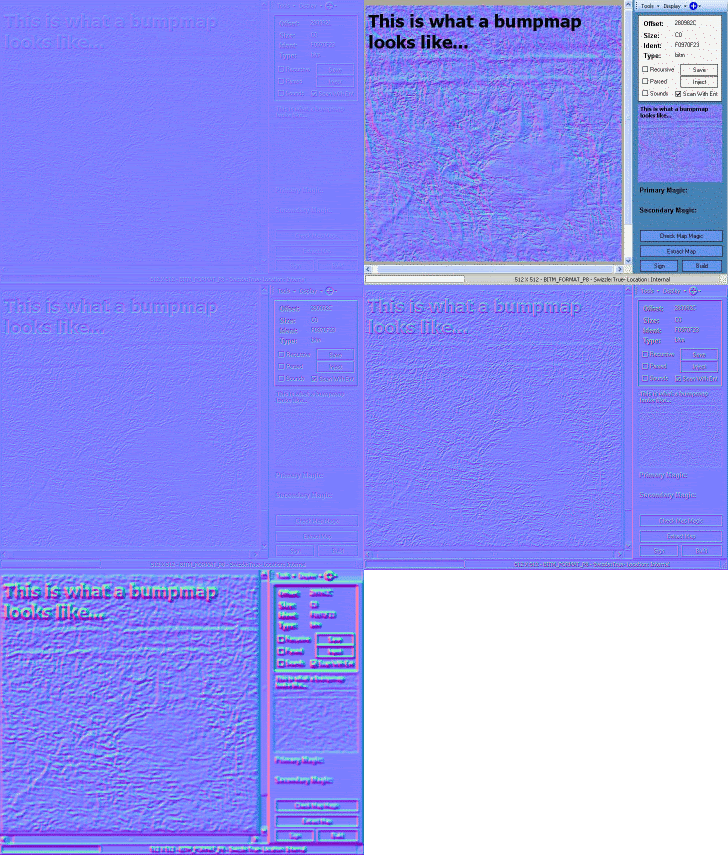
[Fig 2.0] Some different settings can make different parts of an image "pop" out or "dip" in.
[Step 12.] Press "File --> Save As"
[Step 13.] In the save dialog box make sure you save as a .DDS file.
[Step 14.] In the pop-up box that comes up select the following settings:
In Gimp save as a "RGBA8" format.
In Photoshop save as a "8:8:8:8 32bit" format.
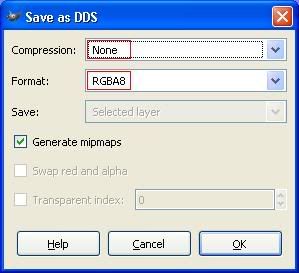
[Fig 2.1] Gimps .DDS options box.
[ Injecting Bumpmaps ]