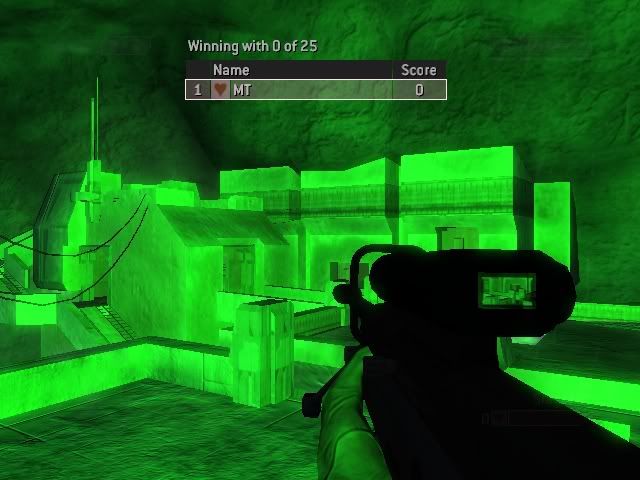
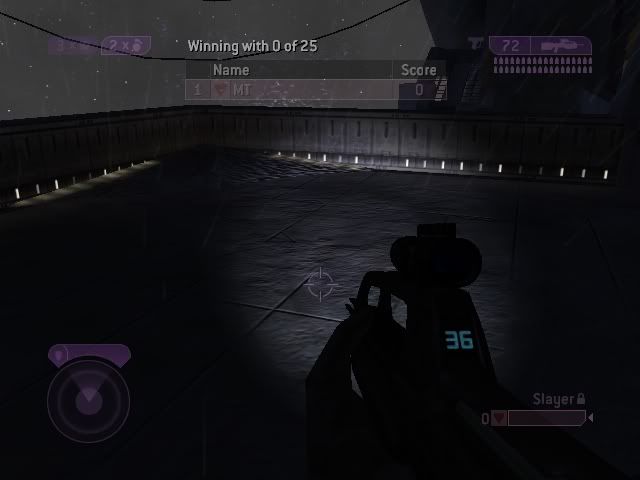
Im going to start out with Nightvision, as I find it is the least complex to do. This will show you how to make a specified weapon (Sniper in my case) have Nightvision only in First Person if you pick it up. Like so...
Nightvision
To start out, we are going to need to duplicate a tag, so we don't mess up the light attached to the plasma pistol. So find the [ligh] tag labeled "effects\generic_lights\overcharge_fp" (In Entity), right click on it, and select duplicate. When its done, you shoulud have a new tag labeled "effects\generic_lights\overcharge_fp(1)".

Alright, since we are already there, lets click on the new [ligh] tag, and open up the XML Plugin Reader. (If it says no plugin found, move the "XML" folder from Entity/plugins/halo 2/ to Entity/plugins). Once the plugin loads, change the values for "Light Intensity Burst", "Light Intensity" and "Distance" to up around 100.
Now, the light will be shown all around, instead of in a tiny radius around the gun. Once your done setting the light values, go to the sniper rifle, and make the "Refrence Editor" viewable. When the refrence editor comes up, right click on it, and select "Clone Chunk".
When the chunk cloner comes up, find the attachments reflexive, then the "sr_muzzle_flash" chunk.

Select the chunk, and Clone it one time. If you are unfamiliar with cloning chunks and such, I suggest you read this tutorial.

When it's done and you see the new chunk, select the Add Meta To Map button. When it brings you back to the main Entity form, select the Meta Editor. Find the "Attachments" reflexive, and select "Show Unknowns" at the top of the Meta Editor.
Change the Tag Path of the [ligh] to the one you made earlier (effects\generic_lights\overcharge_fp (1)). Then, set the first 2 string ID's to "Ready". Hit the save button, and now when you pick up the Sniper Rifle, it will have Nightvision that only the player holding it can see.
Flashlights!
Flashlights take about the same time and effort as Nightvision would, and use pretty much the same concept. I will be showing you how to add a flashlight to the Battle Rifle, so that it is visable in both First Person and Third Person..Like so..(Sorry about all my poor images >.<)
For this one, there will be no duplicating tags, so we will start off at the battle_rifle.weap tag. In the refrence editor, right click, and select Clone chunk. When the chunk cloner comes up, find hte "Attachments" reflexive, then the "muzzle_flash.ligh" chunk.

Select that chunk, an clone it twice, so that there are a total of 3 chunks under the reflexive. When it adds them, hit the "Add Meta To Map" button.
When you are brought back to the main Entity form, switch to the Meta Editor. Find the "Attachments" reflexive, and at the top of the Meta Editor, select "Show Unknowns". Goto Chunk #1, and change the tag path to "objects\characters\masterchief\flashlight_1p". Then for the first 2 string ID's, set them to "Ready". Setting them to "ready" will make it so that the flashlight is only visible when the gun is held, so its not active while the gun is just sitting on the ground. So when your done, Chunk #1 should look like this..
When your done with that, hit "save" at the top of the Meta Editor, and goto Chunk #2. In chunk #2, change the tag path to "objects\characters\masterchief\flashlight_3p", and the 2 string ID's to "ready".
When you are done, hit the save button at the top, and now you should have a working flashlight on your Battle Rifle.
Laser Sights
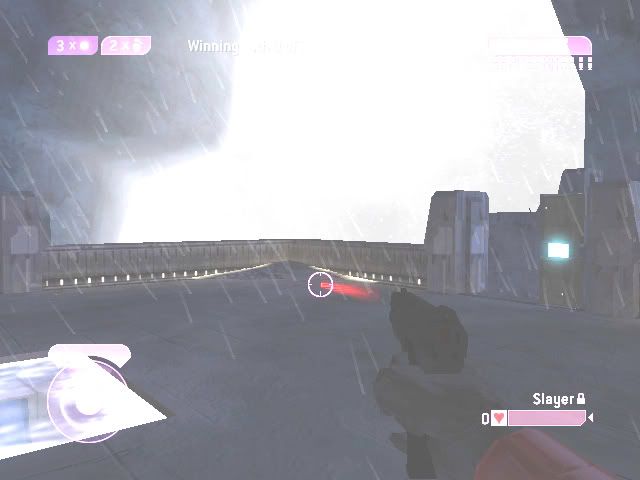
I have had way more questions about Laser Sights than either of the other two, so read this one carefully. This will make it so that when you press the "L" trigger, a red guide beam comes out of your weapon. I also have to thank Pyroman31, because he helped me figure out where he messed up on his laser, so that everyone can have working effects and virbations with their lasers! Thanks Pyro! =D
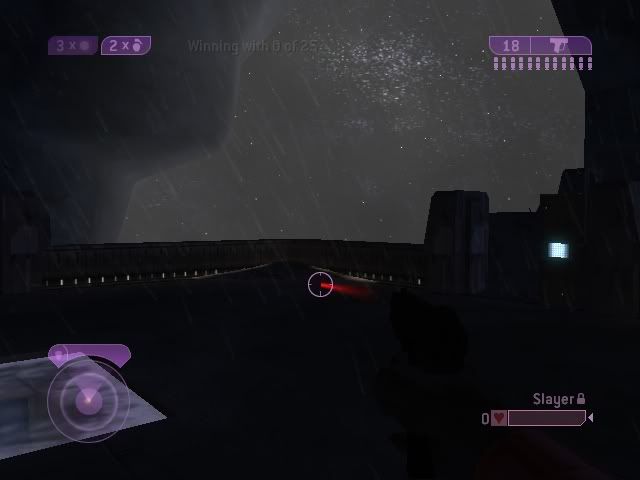
(If that is too hard to see, here is a photoshopped picture)
To start off, we are going to duplicate the Carbine, as it already has 2 projectiles linked to it. So find "objects\weapons\rifle\covenant_carbine\covenant_carbine", right click on it, and select Duplicate. Now you should see a new weapon under it, named "objects\weapons\rifle\covenant_carbine\covenant_carbine(1)". Next, we are going to duplicate the Beam Rifle beam, so we can have an independant projectile for the laser. In the meta tree find "objects\weapons\rifle\beam_rifle\projectiles\beam_rifle_beam", right click on it, then duplicate it. You should now see a new projectile under it, named "objects\weapons\rifle\beam_rifle\projectiles\beam_rifle_beam(1)". Now, since we are alread on the new [proj] tag, lets set it up to look like a laser. Switch to the Meta Editor, hit "Show Unknowns" at the top, null out all the [foot], [jpt!], and [snd] tags you see. Then find the "Attachments" reflexive. There should be two [cont] chunks. Swap the tag path on both chunks, to "effects\objects\weapons\pistol\needler\projectile".

After your done with each chunk, hit the "save" button at the top of the meta editor. Now that we swapped the contrail, lets make it bright red. Goto the [cont] tag "effects\objects\weapons\pistol\needler\projectile". Then in the Meta Editor, find the "Point States" reflexive. For both chunks, set the Red values to 100, and the other color values to 0. Also change the "Trail Width" to .05. When you are done with each chunk, hit the "save" button at the top of the Meta Editor. Both chunks should now look like this..
Now that you have made a laser beam, its time to attach it to a weapon. Goto the weapon that you duplicated earlier (objects\weapons\rifle\covenant_carbine\covenant_carbine(1)), and open up the Refrence Editor. Once in the Refrence Editor, right click, and select Clone Chunk. When the chunk cloner comes up, find the "Firing Info" reflexive, then it's only chunk.

Select the chunk, then Clone it once. Once you see a total of 2 chunks in the reflexive, hit the "Add Meta to Map" button. When its done, bring up the Meta Editor. There are many things we need to change here, so pay close attention. Now, I want my laser to be on a Magnum, so we need to change it to look like one (It's actually a Carbine if you forgot >.<). First, we need to find the [hlmt] and [foot] dependencies, and swap them for that of the Magnum.
Now, I need to make it so when I pick it up, it looks like a Magnum as well. So find the "FP Models" reflexive, and swap the dependencies to match that of the Magnum.
Now that it look like the weapon I want it to, I need to make the laser function. So first, lets find the "Firing Info" reflexive. For chunk 0, set the Type to "Semi-Automatic", and the projectiles used to 0.
For chunk 1, set the "Button Used" to L, the "Type" to Automatic, and the "Projectiles Used" to 1.
Remember to save changes after editing each chunk. Now that we have it set up to fire the way we want it to, lets set up the projectiles it will fire. Find the "Triggers" reflexive, and scroll down untill you see the [proj] dependency. Swap that to be "objects\weapons\pistol\magnum\projectiles\magnum_bullet". Now that it shoots the right projectile, lets make it look and feel like its shooting a Magnum Bullet. Scroll down untill you see the dark brown inter-reflexive containing an [effe] dependency, and swap them to match the Magnum effects and damage.
Remember to save changes after editing anything. Now, its all set up to fire a Magnum bullet with the right trigger. Lets go and set it up to shoot the laser with the left. Still in the "Triggers" reflexive, goto chunk 1. Set the "Rounds per Second" to 100, and the "Ammo per Shot" to 0.
Don't forget to save changes after editing anything. Now scroll down untill you see the [proj] dependency, and swap it to be the one we created earlier "objects\weapons\rifle\beam_rifle\projectiles\beam_rifle_beam (1)". Save changes again after you do that. Right above the dependency, you should see 3 floats labeled "Spawn Offset" I suggest you make the laser spawn a little below, and to the left of the gun so that you can see it while you are standing still. Good co-ordinates for the Magnum would be
.6
-.1
-.02

Don't forget to save changes, then scroll down to the effects inter-reflexive at the bottom. Once there, null out everything.

Hit save changes, and theres one last thing to do before your done. When you are shooting the laser, your taking your "Grenade" trigger away, so we need to disbale the grenades so it does not muck up. Still in the Meta Editor, find the "Flags" bitmask, and check "Bit 12".
Congradulations! You should now have a fully functioning laser guide usable by pressing tte left trigger. Also, doing these things will break system link, so if you have Entity 1.2 or higher, just hit the "Fix System Link" button and you should be good to go.
Attached at the bottom is a Lockout mod I made, with Nightvision for the Sniper Rifle, A Flashlight on the Battle Rifle, and a Laser Sight on the Magnum. Feel free to rip the meta's from that map, but please give me some credit if you do...


