Download HDRI Probes Here! http://www.debevec.org/Probes/
Also download HDR shop and search google for a HDRI tutorial if needed.
Renember, you can always change it around, like this...
**********************UPDATE*********************
Here is a tutorial I will type.
1. Start by making a cylinder, make sure the radius is 1, the height 15, 1 cap segment, and 18 sides.
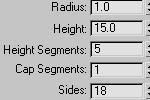
2. Go to convert to, and convert it to a Editable poly. Select the second and third vertexes and move them. (As shown in picture)
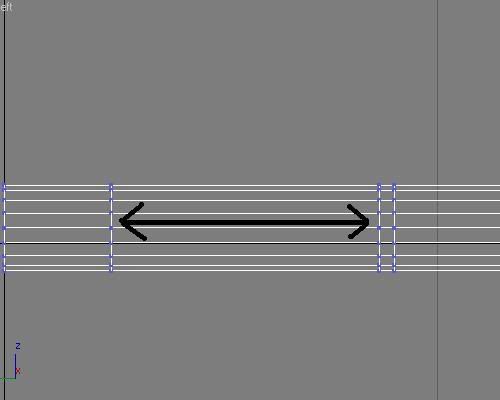
3. Select the two polygons, select the big one first, press Ctrl, and highlight the smaller one.
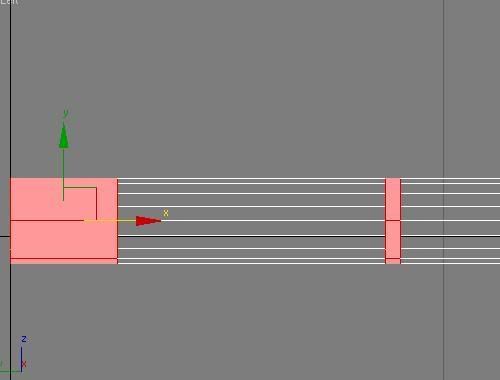
4. Click the box next to extrude, with the polygons still high lighted, and set the type to local normal, and extrusnio height to 0.1
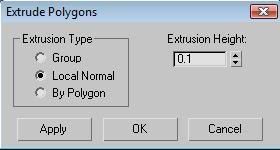
5. Select the next polygon, as shown in picture.
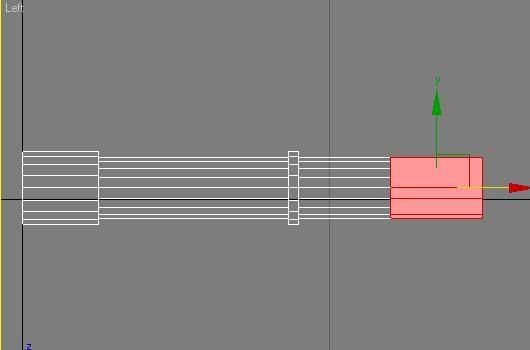
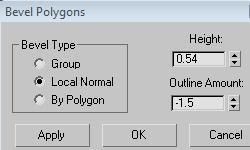
6. Click the box next to bevel, change the type to local normal, height to 0.54, and the outline ammount to -1.5.
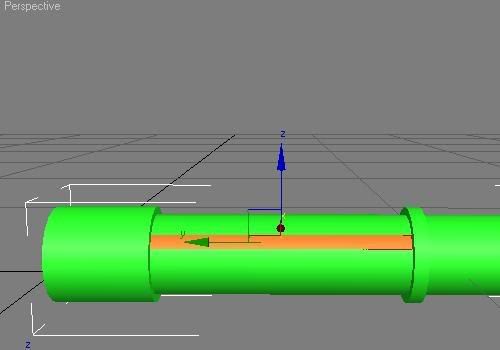
7. Now select the polygon shown in the picture. Bevel it with 0.3 height, and -0.17 outline ammount. Do this for all of them.
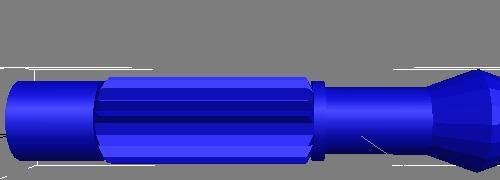
9. Now select all of the polygons you just finished beveling and bevel them all together. Make the height -0.29 and outline -0.2.
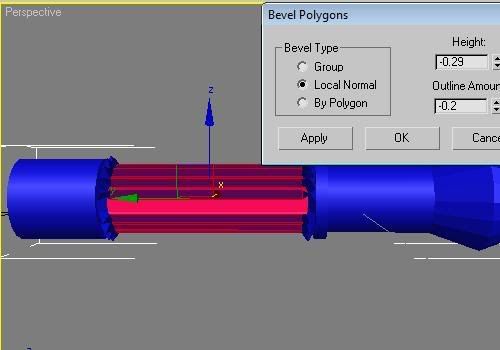
10. Now go down to the polygon shown, and bevel them. Make sure you bevel, skip a poly, bevel. The hight is 0.31 and outline is -0.21.
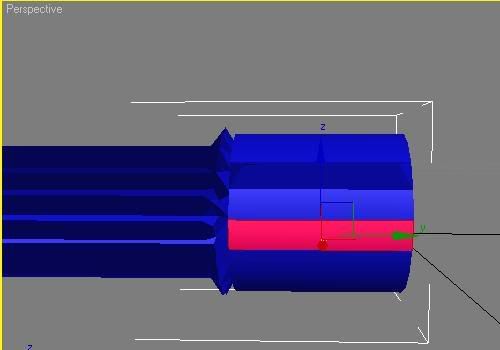
Once that is done, it wil look like this...
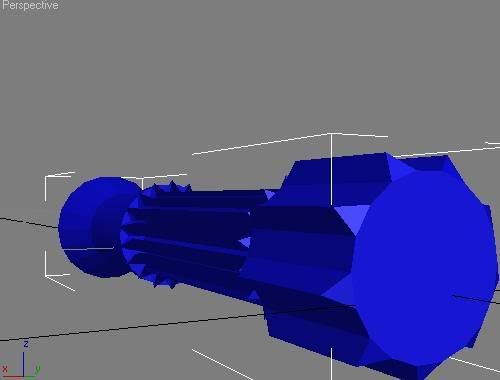
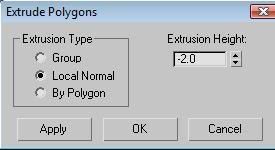
11. Now on the lightsabers end, the one we first beveled, sleect the circle and eextrude it. Make the height -2.0
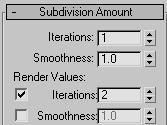
12. Now we will add a meshsmooth to it. Go to the modify tab and slect meshsmooth.

Make the parameters for iterations 1. Check rendering iterations, and make that 2.
13. Now for the materials. Make sure you are using mental ray. Open the material editor, and click standard. Click arch & Design.
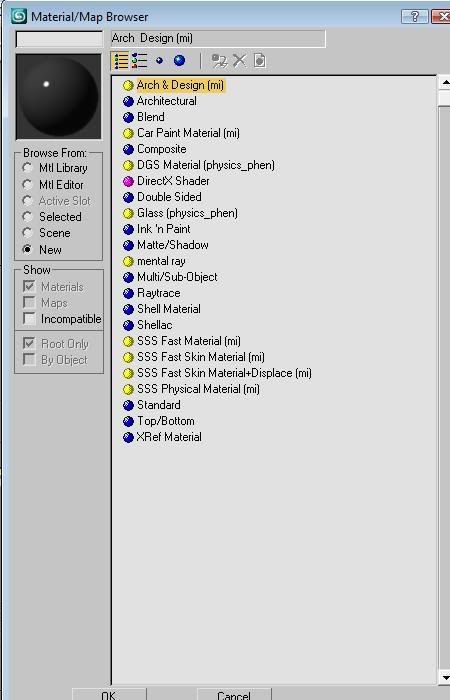
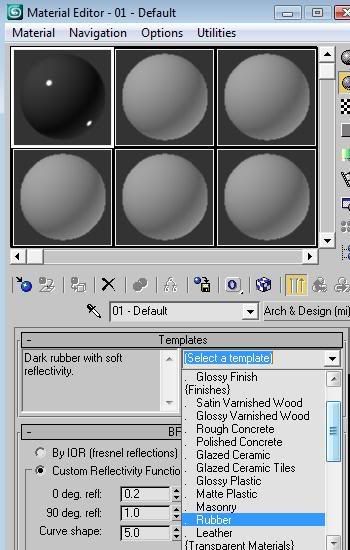
14. Roll down the drop down menu and select rubber.
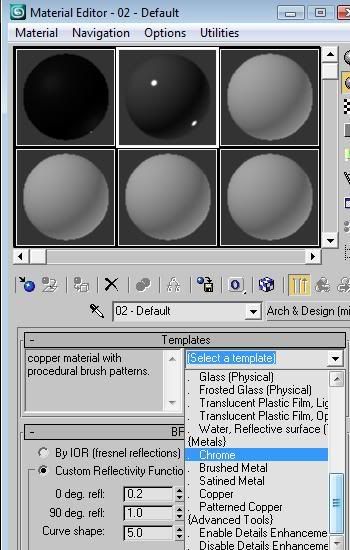
15. Do the last two steps again, only instead of rubber, make it chrome.
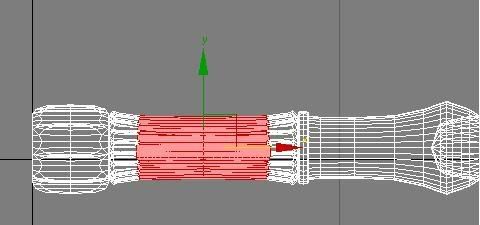
16. Make the entire LS chrome, then select these polygons.
17. Create a plane, any size. I am going to use my own BMP for the ground, you do the same.
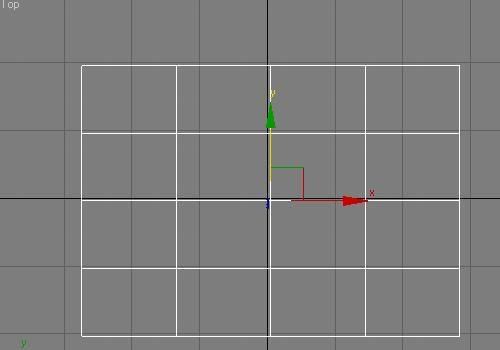
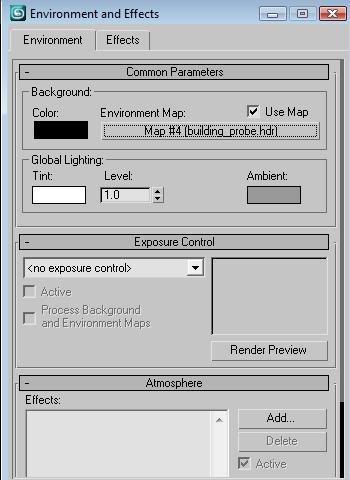
18. We have to do some HDRI, so get a probe, and set it up using an HDRI tutorial, search for one on google if needed. Drag the HDRI probe to the Material Editor, and make it a cylindrical enviroment .

19. Now, if you render it, it looks kinda wierd, so lets move some verticees around.
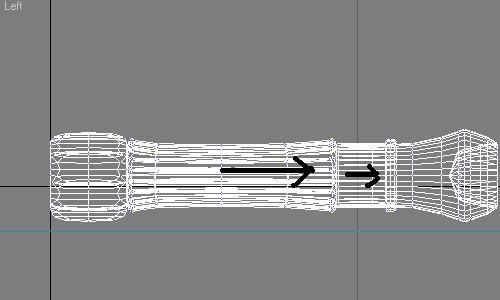
20. Now move these vert. around.
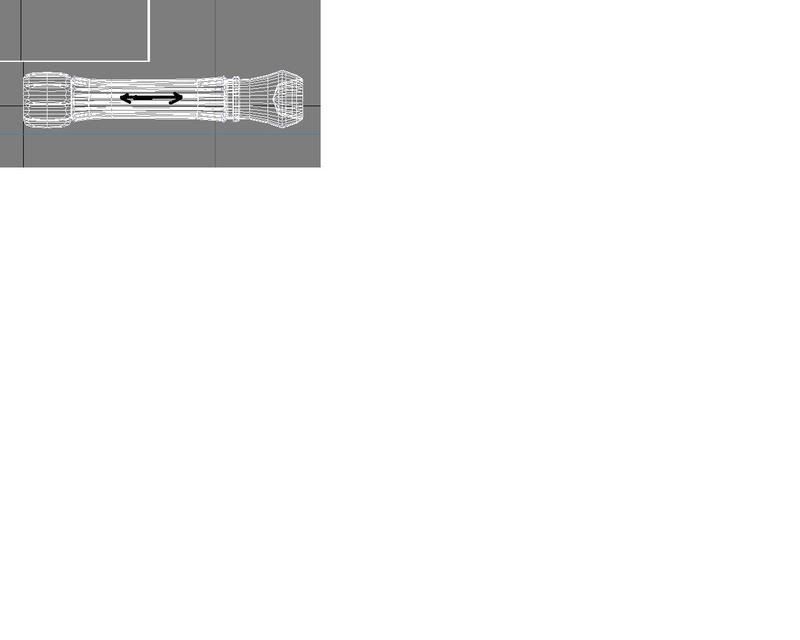
Youre done!
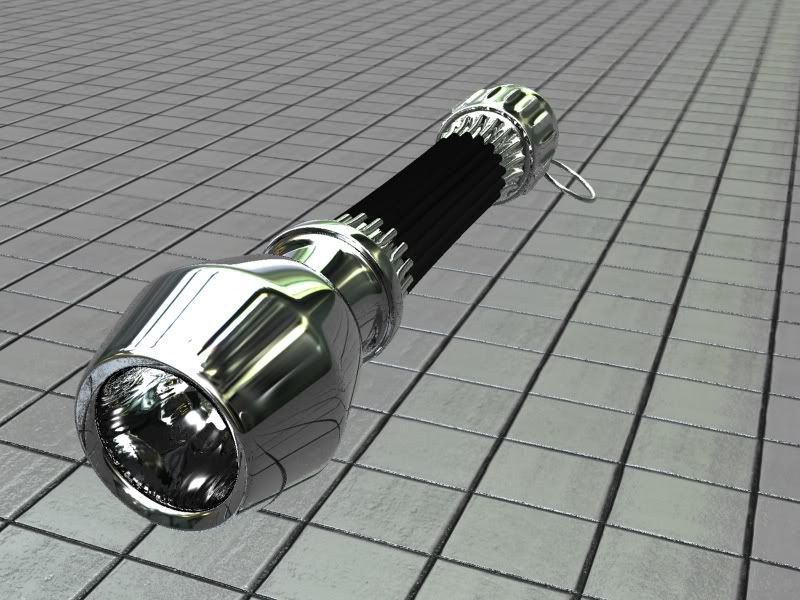
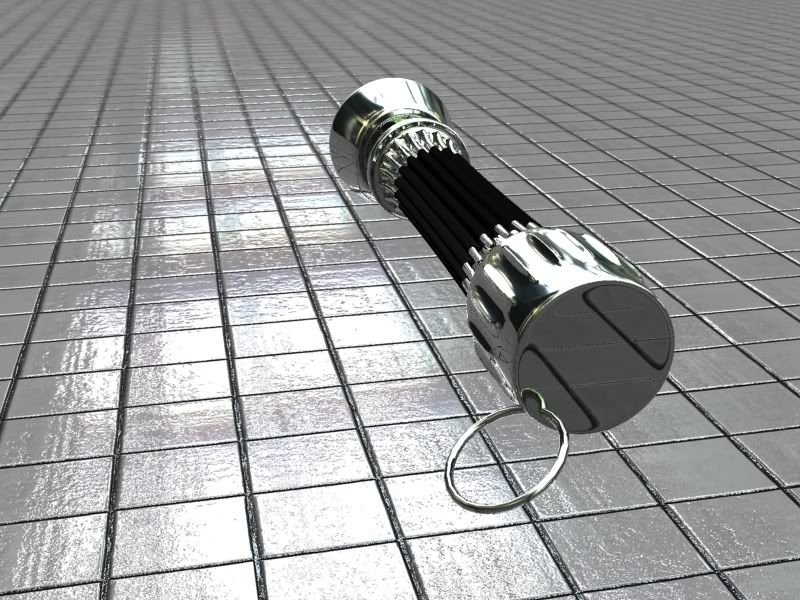
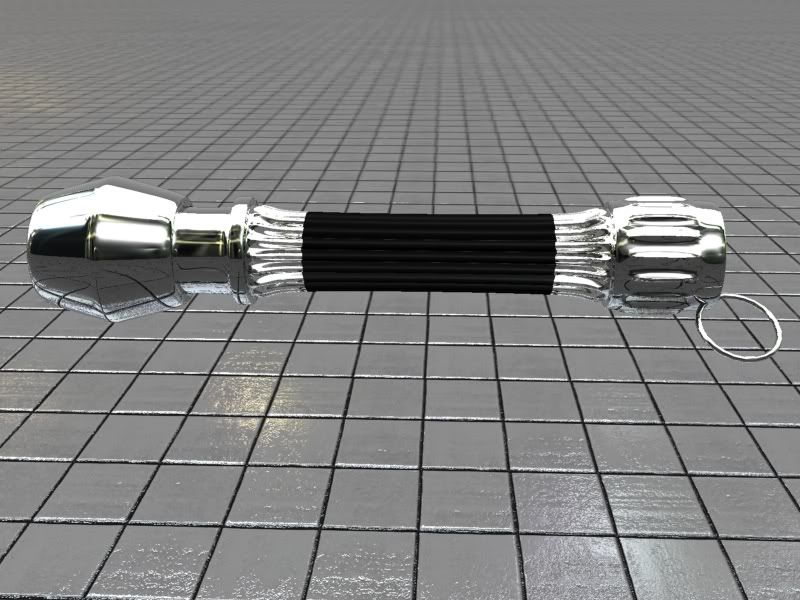
That is all on how to make a lightsaber. Yours should look a little like this.
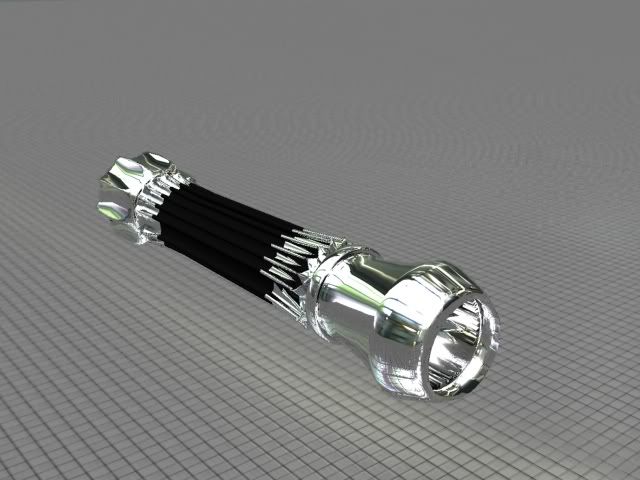
*Made by Jacobson Menashe
Jam Productions
Jacobson Menashe films.