I reeeaaly hate asking you this this, cause im sure you dont got too much spare time, but, i would LOVE to know how to do the visor
EDIT: I meant emblem O.o
Halo 2 Rendering
I know that is what you are supposed to do, but I have no idea how (as in what to click) or where this composite thing needs to be made.Darco wrote:make a composite. set the slot number to 20 or 19. uncheck all slots. in each slot put an rgbtint and use the colors i linked to as well as the campaign color that i showed how to get. check the color you want to use.

hmm, i think i might just leave the visor without pictures. kind of way to apply how you made the armor material to making the visor. that way ill actually see if my tutorial helps you learn a little rather than just showing you how, because im not gonna post a tutorial for every vehicle/weapon/character.

=[
well, composite is just under where you find bitmap, and rgbtint is towards the bottom of that window. as for where to put the composite, if you look at the material tree (assuming you can read it) you'll know exactly where to put it. if that doesnt help you, it goes in one of the slots of the rgbmultiply in the diffuse slot of the armor material.
=[
you need to extract the emblem textures. i dont know their locations off hand, but basically what you do is color each part white and separate the emblem texture in photoshop according to how many parts you want of it different to have different colors. for instance, if i were to use my avatar as an emblem (which it is) i could create two masks out of it. one mask for the outer ring and one mask for the center dot.
the mask is just like the one you used for the mc's armor. then you set up a composite, (in this case two slots for the composite) and just create a mask in each slot. those two bitmaps you made from my avatar would be each of the maps. and you do the color composite the same way you did for the mc's armor.
now because you want the emblem to have opacity, you would just take my avatar, make the ring and bullseye white and set everything else as black in photoshop. this would be your opacity mask and it would go in the opacity slot.
hopefully i wont need to make pictures for that, since its really a pain in the ass to make a bunch of pictures. so just ask your questions and ill try to be as detailed as possible when i answer them.
=[
i basicly understand it completely
Heres were you get the emblem textures
http://nikon.bungie.org/misc/h2emblem/? ... bi=28&fl=1
Heres were you get the emblem textures
http://nikon.bungie.org/misc/h2emblem/? ... bi=28&fl=1
For the Normal Bump slot, use the extracted normal map. Put the height map (black and white) in the additional bump slot.Dalto11 wrote:so your saying the Height map will work just as well as a normalJordan wrote:You don't convert that to a normal dude, you use it like it is.Dalto11 wrote:well I'll put it like this, I took Darco's Height Map and it was realllllly weak converted to a normal, so what tdo I do since It refuses to extract bump maps?

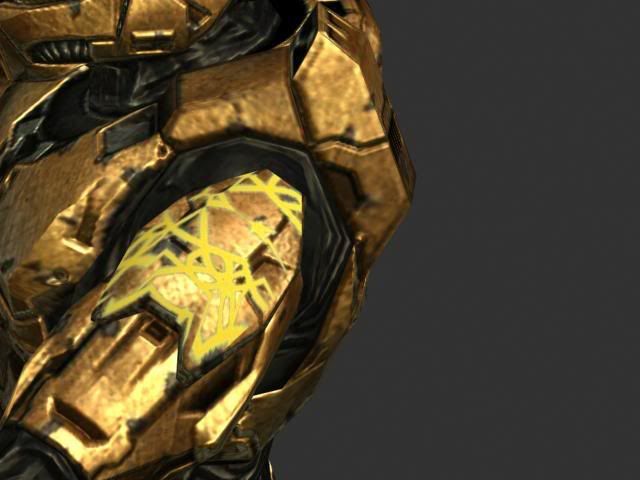
how's this?
http://www.deviantart.com/deviation/52360448/
http://www.deviantart.com/deviation/52360448/
Give us a closer shot...i cant really see the bump
Heres is how i do my High resolution...
One, Open a detail map
Two, Up the contrast
Three, Increase the size
Four, Do fiter>stylize>Diffuse
And five, Filter>nvidia tools> Normal map filter
save it and put it in additional bump slot, make sure you tile it!
Heres is how i do my High resolution...
One, Open a detail map
Two, Up the contrast
Three, Increase the size
Four, Do fiter>stylize>Diffuse
And five, Filter>nvidia tools> Normal map filter
save it and put it in additional bump slot, make sure you tile it!
-
JunkfoodMan

- Posts: 1061
- Joined: Fri Jan 27, 2006 10:18 am
- Location: London, Englandia
